Question 4: How did you use media technologies in the construction, research, planning and evaluation stages?
Planning & Research

We used Weebly which is an online free website creator; it
allowed us to create pages with only a few clicks by dragging and dropping
different elements onto a page and filling in the content.
Throughout the time we spent working on our teaser trailer we used this
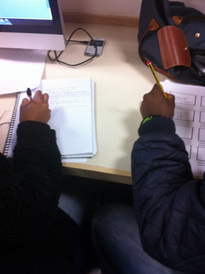
site to present all our work for example, pictures of the meetings between the
group on deciding what genre the film will be or what make up and costume will
be used in the trailer or scanning sketches of the drafts for our magazine and
poster. Weebly made planning and
research straightforward as it was easy to upload various types of media for
example our anima tic that was made in final cut pro.
allowed us to create pages with only a few clicks by dragging and dropping
different elements onto a page and filling in the content.
Throughout the time we spent working on our teaser trailer we used this
site to present all our work for example, pictures of the meetings between the
group on deciding what genre the film will be or what make up and costume will
be used in the trailer or scanning sketches of the drafts for our magazine and
poster. Weebly made planning and
research straightforward as it was easy to upload various types of media for
example our anima tic that was made in final cut pro.

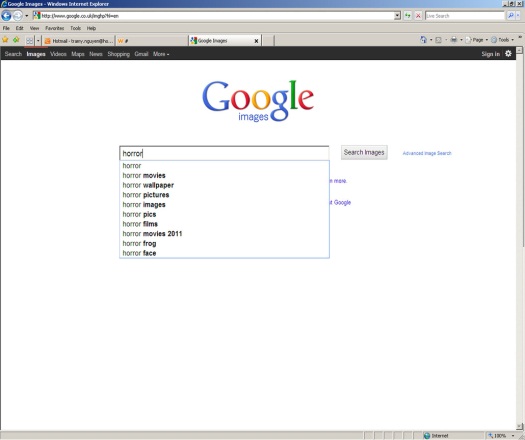
The internet played a major role in planning and research, finding
examples of poster and magazine pages is where we used the internet the most.
Finding inspiration from Google images, Wikipedia, horror movie sites for our
magazine and poster idea’s is what gave us a little insight in what conventions
should be used to make an exceptional magazine and poster.
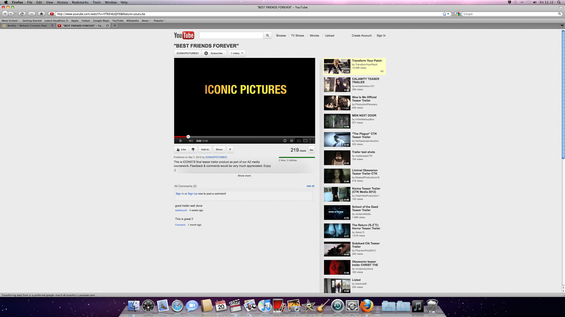
www.youtube.comwas particularly useful in the planning and research, because it
was used to publish and distribute our movie trailer to the world, also we used
it to upload certain videos onto our websites to make it more visual and to
explain certain things more creatively for visuals like tutorials, and for
example the tutorial video’s for makeup. We used www.youtube.com because it is a world wide website where anyone in the world
would be able to view our trailer; this gives us various different opinions from
different cultures about our trailer through YouTube comments.
examples of poster and magazine pages is where we used the internet the most.
Finding inspiration from Google images, Wikipedia, horror movie sites for our
magazine and poster idea’s is what gave us a little insight in what conventions
should be used to make an exceptional magazine and poster.
www.youtube.comwas particularly useful in the planning and research, because it
was used to publish and distribute our movie trailer to the world, also we used
it to upload certain videos onto our websites to make it more visual and to
explain certain things more creatively for visuals like tutorials, and for
example the tutorial video’s for makeup. We used www.youtube.com because it is a world wide website where anyone in the world
would be able to view our trailer; this gives us various different opinions from
different cultures about our trailer through YouTube comments.
We used the internet to for nearly every aspect of our planning and research, search engines including Google, Wikipedia and more were very effective and useful whilst searching for pictures or information to help with the planning and research of our work; we explored the internet to give us information and facts to help us gain an insight on different film industries like Warner Brothers, Paramount, and much more.
|
|

|
We learnt a lot about camera technologies during our pre and post production,
as a group we learned how to use different functions on the cameras, one of the
most significant thing we learnt was how to set the white balance on the video camera, after testing it
was evidently clear that it made shots easier to see. We already knew how to focus a camera from the help of our technician and it was just about adjusting to different video cameras. Before we started filming another important
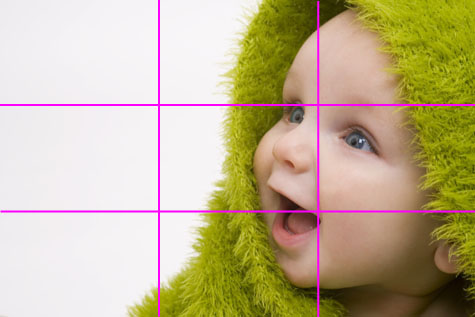
technique we learned was the rule of thirds the idea of this is to place the key elements of your scene where the lines intersect as shown. This should engage the viewer’s attention and provide a natural focal point. For example, in a portrait, keeping the eyes in line with the top intersection and the mouth with the bottom. Whilst filming
we counted in and out, the importance of this is that it leaves time or the actor/actress to prepare for what they have to do, also it means there is space for error that can be cut out whilst editing, most importantly the camera man
has time to adjust the camera and make the shot perfect.
as a group we learned how to use different functions on the cameras, one of the
most significant thing we learnt was how to set the white balance on the video camera, after testing it
was evidently clear that it made shots easier to see. We already knew how to focus a camera from the help of our technician and it was just about adjusting to different video cameras. Before we started filming another important
technique we learned was the rule of thirds the idea of this is to place the key elements of your scene where the lines intersect as shown. This should engage the viewer’s attention and provide a natural focal point. For example, in a portrait, keeping the eyes in line with the top intersection and the mouth with the bottom. Whilst filming
we counted in and out, the importance of this is that it leaves time or the actor/actress to prepare for what they have to do, also it means there is space for error that can be cut out whilst editing, most importantly the camera man
has time to adjust the camera and make the shot perfect.

During the pre production of our horror movie trailer we made video’s of the group discussing different idea’s between one another, also video’s explaining to the viewers what we were currently are doing. We also created a camera technique video using the main camera’s we used to shoot our trailer; this was to demonstrate the different camera techniques that can be used in the making of a trailer. For example tilt shot, worms eye view, birds eye view, establishing shot, wide angle shot, close up, and many more. We made these tutorials using our own group members.
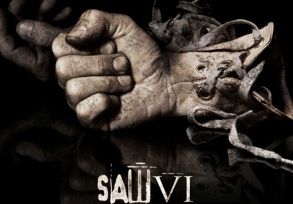
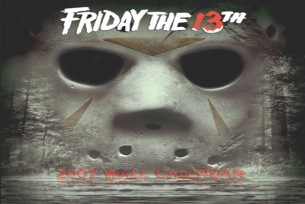
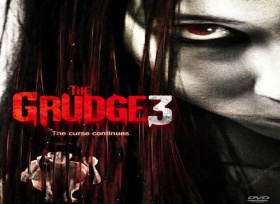
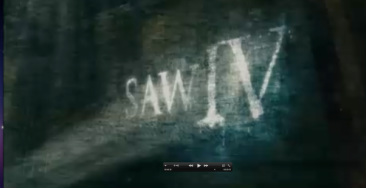
We watched numerous horror teaser trailers and films to get that horror sense of thinking within our group; we watched films like, The Grudge, Saw 3 &4, Nightmare on Elm Street, Friday the 13th. We watched these movies via the internet on an online website called www.tvblinx.com where movies are free to watch. Taking in consideration the different genres of movie types for example, J-Horror, Slasher, Psychological, we watchfully observed the techniques
used for each genre of horror for example J-horror’s usually contain some sort of ghost or Uri in them, Slasher’s
are more gruesome and bloody. As a group we decided to go with creating a psychological Horror because we all agreed it was the best one to try and conquer. However we used the pacing and style of saw 4, this was because the
montage it contained was very good and wanted to attempt it in our trailer.
|
|
|
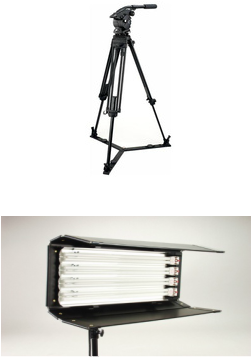
We saved a great deal of time by familiarising ourselves with how to set the equipment up, our technician giving us a tutorial of how to assemble the equipment made our time management more efficient because we could get on with filming as soon as possible without the troubles of trying to set up the equipment. We did not find it difficult to put together the equipment after the teacher had taught us how to do it.
During our planning and research there was several things that held us back, the blockage of sites on the college computer system was a major hold-up when it came to promoting our website and horror teaser trailer. Because many of the social networking mediums are blocked for example Twitter, Facebook, MySpace we had to all wait until we got to our own computers at home to start the promotion of our work, this was time consuming and delayed our audience feedback.
During our planning and research there was several things that held us back, the blockage of sites on the college computer system was a major hold-up when it came to promoting our website and horror teaser trailer. Because many of the social networking mediums are blocked for example Twitter, Facebook, MySpace we had to all wait until we got to our own computers at home to start the promotion of our work, this was time consuming and delayed our audience feedback.
Creating low-key footage in several of our scenes in our trailer we changed the settings of the shutter speed and the
aperture. The shutter speed is how fast light comes into the camera so knowingthis we would change the speed to 1/100, the higher the number the darker it will be. The aperture is how much light comes into the camera; we also set this quite low when needed. These two settings joint together, helped us create a low-key footage which aided us in some scenes of our trailer.
Setting up our lights didn’t cause a lot of trouble when needed although in one of our scenes where the character is being chased in a running scene, there was times where the lighting would go from high to low without our
manipulation; trying to overcome this problem we used the key-light which was in a directional position. Apart from
that, there were no problems that occurred with lightings.
|
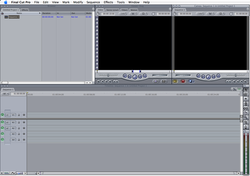
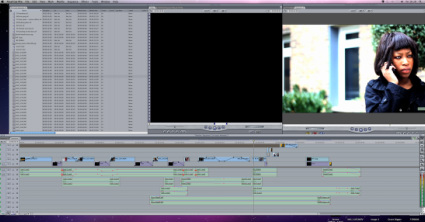
We
used Final Cut Pro to edit our horror movie trailer; Final Cut Pro is
non-linear video editing software. The software allows users to log and
transfer video onto a hard drive (internal or external), where it can be
edited, processed, and output to a wide variety of formats. It also allows you to cut, edit, influence certain footage, add effects to them, changing of colour and contrast and much more. Before editing took place I had to put together all the clips and then put them in the right place and order, after I imported the raw videos and added it to the time line I began editing. Using final cut pro was difficult at the beginning due to being a novice to it however as the weeks went on I got the hang of it and it became much easier to use. I first used final cut pro to create our groups animatic that was required to be made, taking still images and then importing them into final cut pro in order was simple however cutting the images to create the right pacing
was difficult. We then filmed all our scenes individually which was then put on a hard drive then imported and
replaced into final cut pro.
Once finished we export the file using QuickTime conversion into a QuickTime movie, this will help us make it easier to upload the file into sites such as YouTube so then we can embed onto Weebly.
Photoshop was used mainly for our magazine and poster, but it was also used for our movie title at the end of our trailer. Photoshop is very useful with its amazing features to crop, slice, heal, change colour and font,
and rotate and much more to still images. We used a very common technique called extraction in one of our clips, by
this technique a part of the image, normally the foreground, such as a person, are isolated from the rest of the image and put on a new background.Alternatively both background and the extracted foreground can be manipulated and put back together. There are many affects that can be used on final cut pro that can be applied to your clips, such as earthquake, blur, old TV and many more. We applied some of these incredible techniques to several of our scenes
to make our horror trailer scarier.
We used a variety of video techniques in the making of our teaser trailer, we were inspired by the way Saw 4 was edited and cut. Saw 4 started of slow and built up into a montage that went really fast, we used the same
technique for our movie trailer. We used many cuts during our montage to increase the pace and thrill to our trailer; we also used transitions for the captions to make them zoom in and out of the screen when played. For our credits we used earth quake which is one of many affects you can use on final cut pro which made our credit shake.
Magazine and poster
As mentioned before Google was the main software used for research, we also used it to find exsitsing magazines and horror posters. This made it much easier to find the magazine/poster we would want to use to help shape our own.
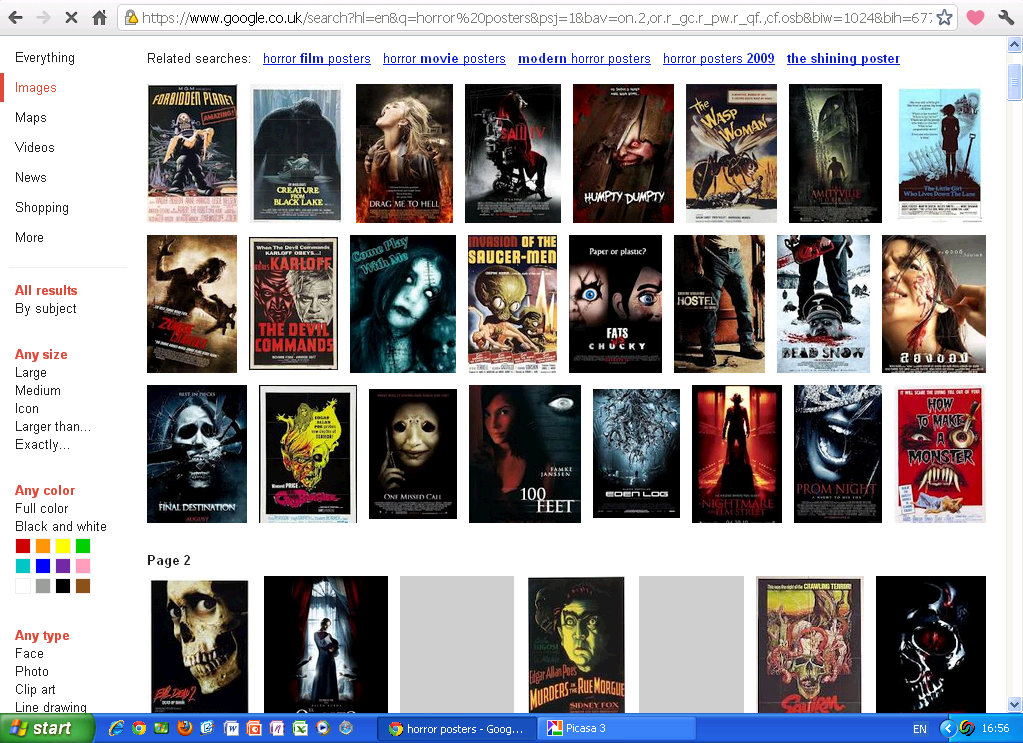
Horror posters.
This gave us hundreds of posters to work from, it also made it easier to decide what conventions we wanted to follow or change. |
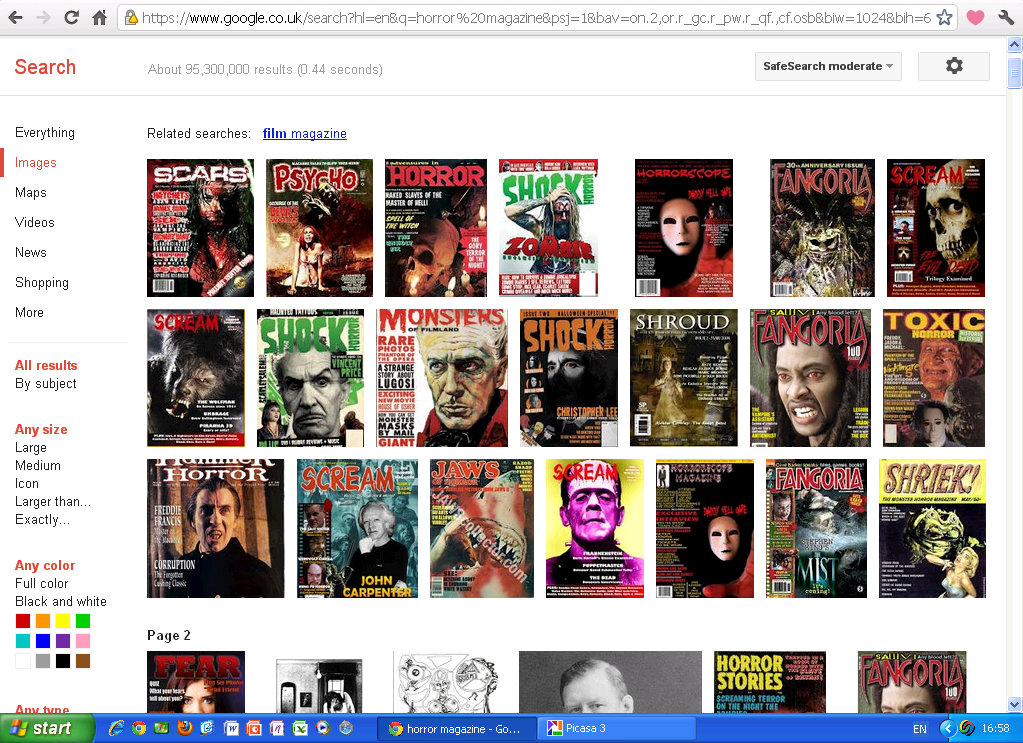
Horror magazines.
The only problem with this search was that when we tried to search up horror magazines it would no be out of the ordinary for a student horror magazine to show up. |
|
Photoshop was the main editing software that was used to edit both magazine and poster. Using software with versatility was key to us, as we wanted to use media technologies where we could be as creatively flexible as possible , therefore Photoshop was our primary choice. The software has everything front fonts to lighting effects, although we did not use Photoshop for it's font (used DaFont), this software was also very useful to us as this program has a large veritably of effects allowing you to do everything from photo-manipulation to creating amazing visuals effects.
|

This is what was used to create the magazine front cover and the poster. There is a wide range of fonts available front Fancy to fonts based on the Holidays.
|
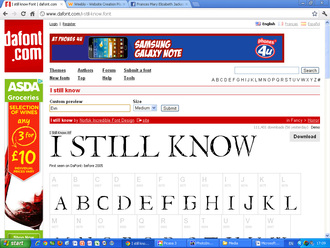
This is the font style we used for our title, After finding it were able to download it onto Photoshop and use it. We changed the font from black to a rusty blood red colour.
|
To take our photo's we needed a dark room, so we closed all of the curtains in the room (they were black so they kept all the light out), we also pulled out the black fabric at the back of the room so that we wouldn't get the effect of the carpet in out pictures, this was so it would make it easier to edit when it came to that stage. We hid all of the cables when it came to our shoot and to capture the photo we had to take it at an angle so for this we used a tripod and angle it down wards. We also used the tripod in taking the pictures for our magazine front cover but measured it for a close up of the models face. When editing we used the different brush tools to drain the colour and cropped the image to show the upper back of the model and her hands. With Photoshop we also edited in some bruises around her hands and darkened the rope around her writs.
|
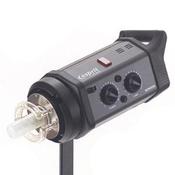
For our lighting we used Bowens flash kit, this made it able to pick out the key aspects that we wanted to show in our photo's. We used the soft box by lowering it till it was nearly on the floor and made our model kneel in front of it so it would pick out the pattern in the rope around her wrists. |

|
